Project Configuration
To control your Engine scenes via Reality Hub, you must define various details such as where the Project is located (UNC Path) and the Administrator Credentials of the computer that hosts that project.
Defining Project Source
To define a Project source:
- Go to Main Menu > Configuration
- Expand the Projects section, select the Shared Folders
- Click on the + (Add) icon

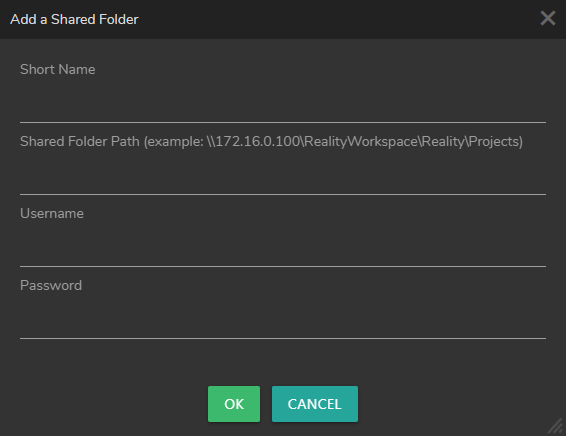
After clicking on the + (Add) icon, Add a Shared Folder window pops up, as shown in the image above. Fill in the required areas and click OK.
- Short Name: A display name you can specify for your Shared Folder.
- Shared Folder Path: The folder path (UNC Path) where your projects are located. If you changed the location of your Unreal Projects, you must add them into Shared Folders and do Rescan.
- Username & Password: The username and password of the computer that is hosting your Shared Folders.
The user role must be Administrator.

After defining Shared Folder details, click on the scan button as shown in the image above.
Shared Folders Menu
From left to right, Shared Folders Menu Buttons symbolize:
- Clone: Duplicates the current shared folder information without the previously defined password.
- Cancel Scan: Stops the current scanning operation.
- Scan: Scans the Project you defined.
- Add: Allows you to add a new shared folder.
- Delete: Erases the selected Shared Folder Path(s).
In multiple Engines configurations, a shared network address should be accessible by the Reality Hub Server and Clients.
For the Shared folders, only SMB v2, SMB v3, and NTLM v2 protocols are supported.
All Project
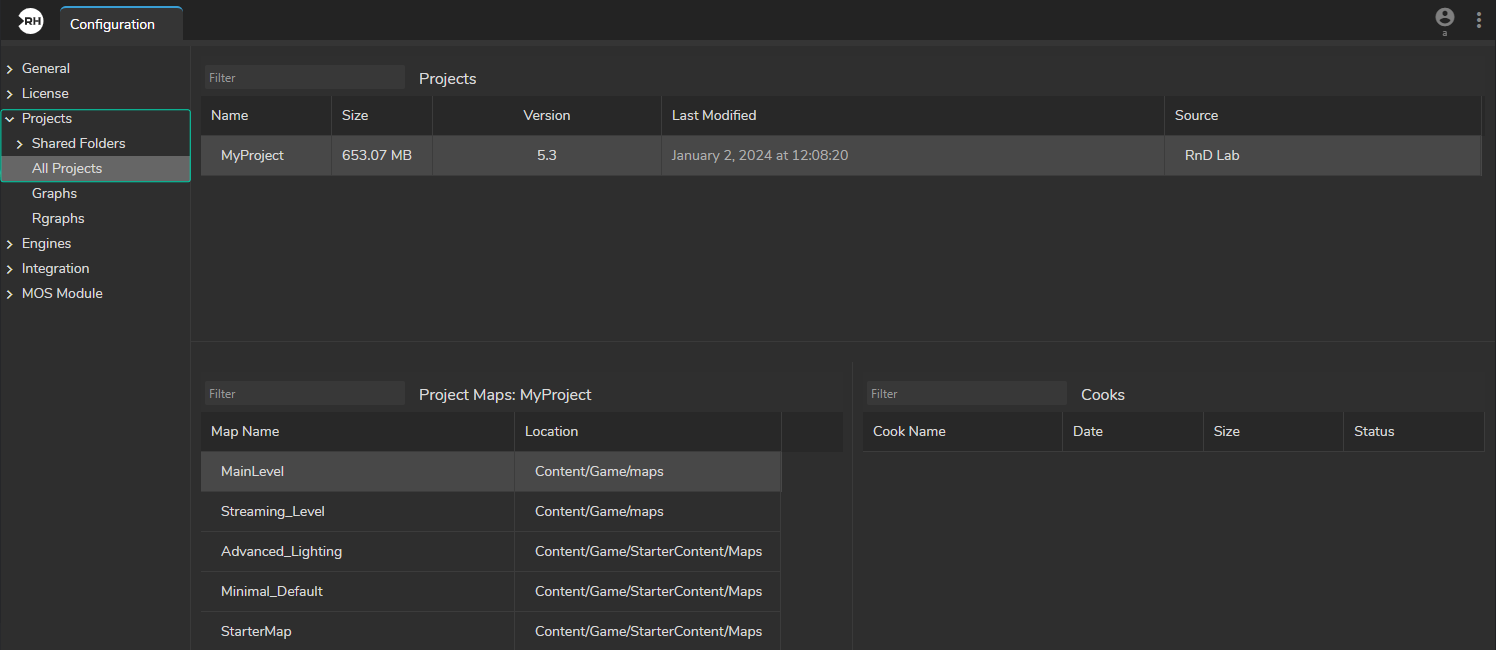
All Project is the section where you can inspect the details of every defined project as a Project Source.

In the All Projects section, you can inspect:
- List of Project details such as Name, Size, Engine version, etc.
- Project Maps details
- Cook information about the selected map
Graphs and RGraphs

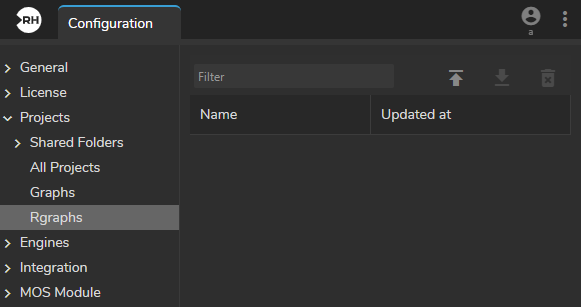
Graphs & RGraphs under the Project section allows you to manage all your *.mzgr and *.rgraph files from a single interface. The Graph Management Buttons, highlighted in the image above, lets you Upload, Download, and Delete your Graphs & RGraphs.
Reality Hub keeps your saved Graphs/Rgraphs in its database. Please keep that in mind: When you delete a Graph/RGraph, you remove it from the database.
See also Graphs.