Triggering Multiple Actions via Single Button
info
Main goal of this section is changing state of Character Blueprint, load a level with Level Streaming and change the color of Spotlight Control blueprint simultaneously with a single click.
info
In this section, we will be utilizing MainLevel map of the RealityExample, the project shipped with Reality 5.3 SP3.
It is possible to trigger multiple actions with a single button.
Preparation
- Launch the RealityExample project.
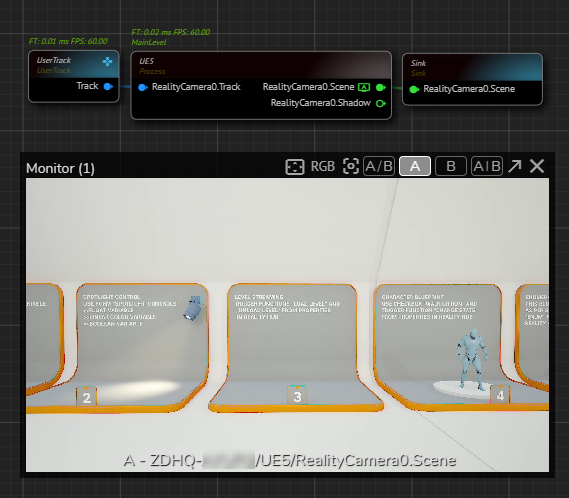
- Create a node tree and activate the APM, as shown in the image above.
- Change the camera angle to a suitable position to observe changes by using GamePad feature.
Creating Actions
- Create a new Action, rename it to something like Play All.
- Select the
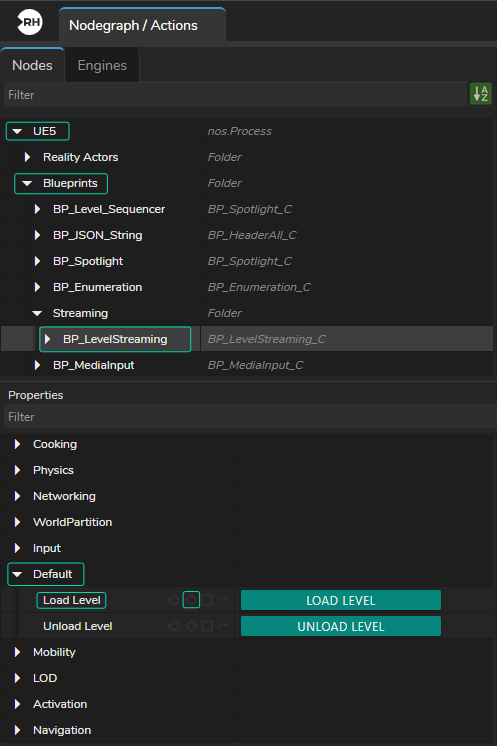
UE5node, go to Node Details Panel. - Expand the UE5 folder, then go to Blueprints > and select the BP_LevelStreaming.
- Go to Properties panel, expand the Default.
- Click on the Add Timeline button of the
Load Levelproperty, as illustrated above.
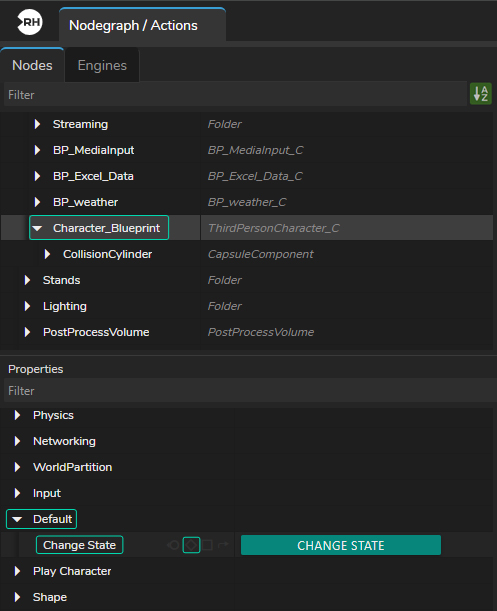
- By inheriting the previous method, add the
Chane Stateproperty of the Character Blueprint into the timeline, as shown in the image above.
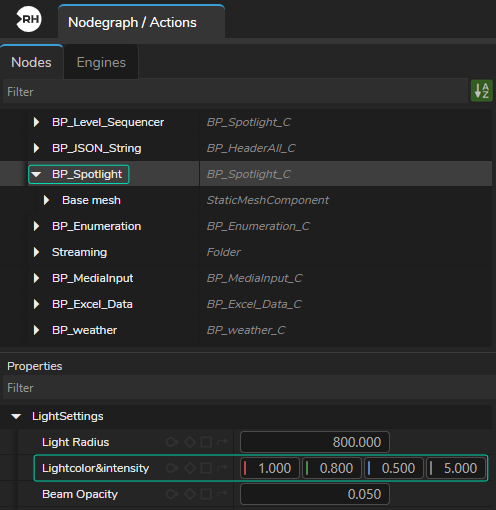
- Add the
Lightcolor&intensityproperty of the BP_Spotlight into the timeline, as shown in the image above.
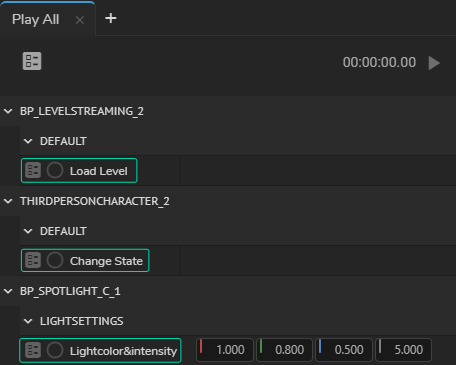
We added Load Level, Change State and Light Color & Intensity properties to the Action Timeline, as illustrated above.
Animation
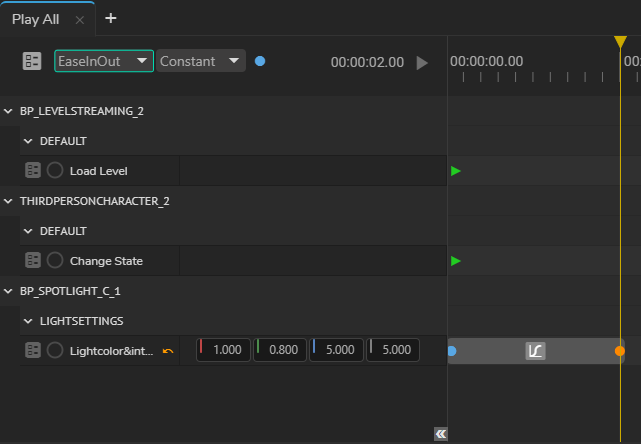
- Go to first frame and add keyframe to each property.
- Go to second 2, change the Blue value of Lightcolor&intensity from 0.500 to 5.000
- Add a keyframe to Light Color & Intensity, change its interpolation type to EaseInOut, as illustrated above.
- Save the action.
Reversing Animation
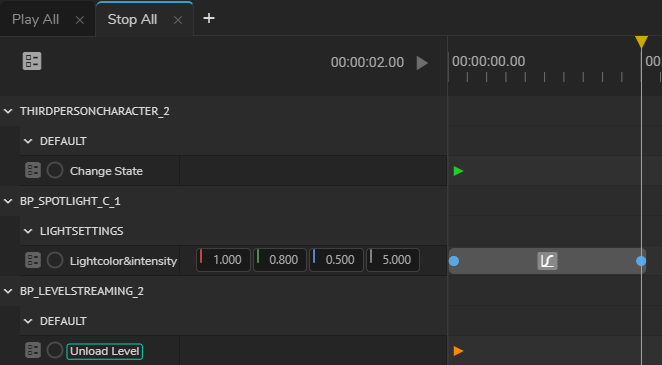
- Create a new Action, rename it to something like Stop All.
- Add Unload Level, Change State and Lightcolor&intensity properties to the Action Timeline.
- Go to first frame and add keyframe to each property.
- Go to second 2, change the Blue value of Lightcolor&intensity from 5.000 to 0.500.
- Add a keyframe to Lightcolor&intensity, change its interpolation type to EaseInOut.
- Save the action.
Creating Template Form

- Activate the Form Builder and create a new template form.
- Go to the first Action, click & hold your left mouse button on the Action Play button, drag & drop it into Form Area.
- Repeat the same procedure for the second action.
- Save the Template Form, as illustrated above.
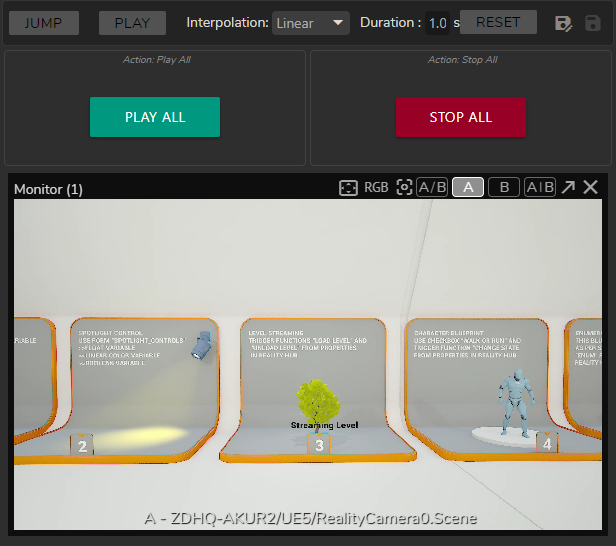
- Activate the Playout module, select your template from Playout Template Form Area
- Click on the buttons and check the results via APM.